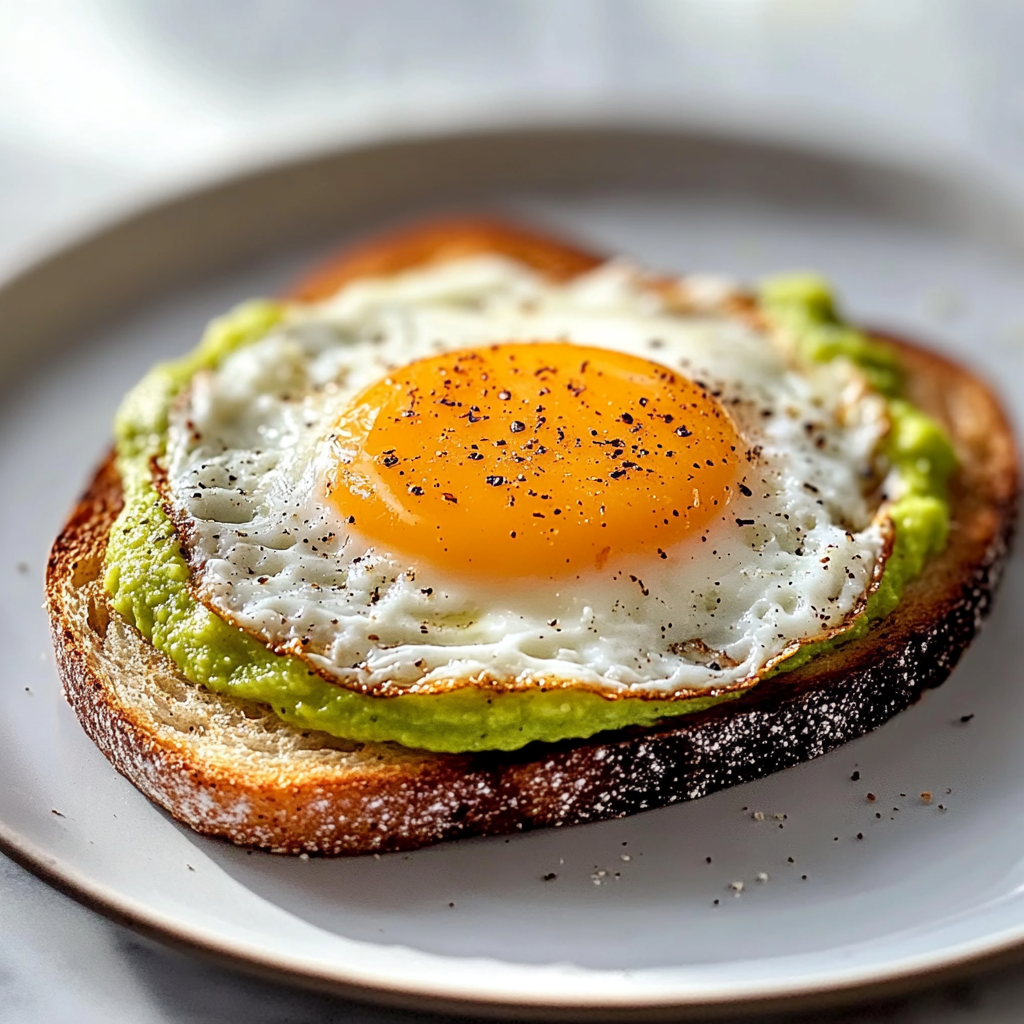
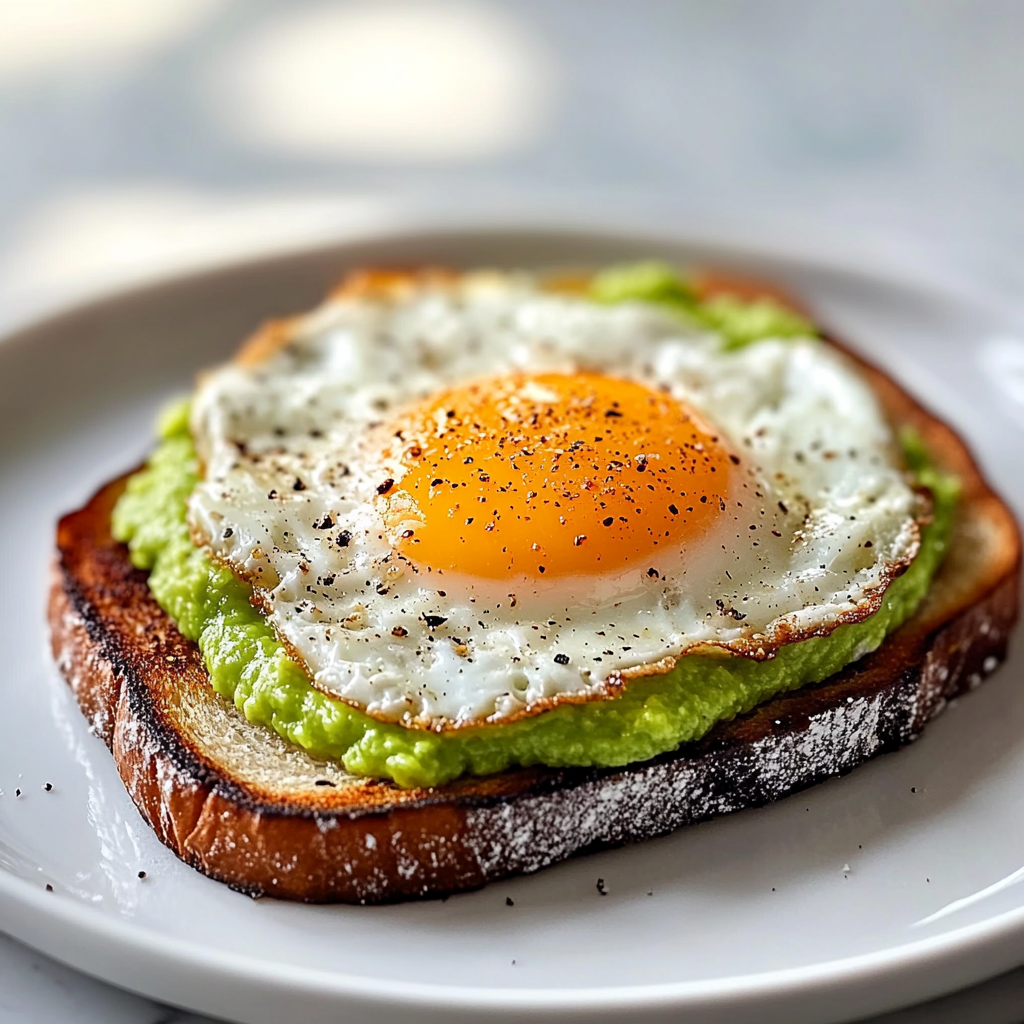
There’s something about a plate of sunny side up eggs that can brighten even the gloomiest of mornings. The golden yolks, just waiting to be popped, glisten like little suns on your breakfast plate, promising a delightful burst of flavor with each bite. Whether you’re enjoying them solo or stacking them high on toast with avocado, these eggs are the ultimate comfort food that never fails to deliver.

I remember the first time I made sunny side up eggs; it was a culinary disaster. Picture me, a fledgling cook, trying to impress my friends for brunch. Instead of perfectly runny yolks, I ended up with egg whites that resembled rubber bands and yolks that were more like hard-boiled nuggets. But hey, practice makes perfect! Now, I can whip these beauties up in my sleep. So grab your apron and let’s dive into this egg-citing adventure!
Why You'll Love This Recipe
- Sunny side up eggs are incredibly easy to make, making breakfast prep a breeze
- The rich flavor and creamy texture will have you coming back for more
- Visually stunning with their bright yellow yolks, they add color to any meal
- These eggs are versatile enough for breakfast, lunch, or dinner!
Ingredients for Sunny Side Up Eggs
Here’s what you’ll need to make this delicious dish:
Fresh Eggs: Choose large or extra-large eggs for the best results; look for those with rich yellow yolks.
Butter or Oil: Use unsalted butter or your favorite cooking oil; both add unique flavors.
Salt and Pepper: These basic seasonings enhance the flavor; feel free to get creative with spices if you’d like!
Basil or Chives (optional): Fresh herbs add a delightful touch and elevate the visual appeal.
The full ingredients list, including measurements, is provided in the recipe card directly below.

How to Make Sunny Side Up Eggs
Follow these simple steps to prepare this delicious dish:
Step 1: Prepare Your Pan
Heat a nonstick skillet over medium-low heat and add a generous pat of butter or a splash of oil. Allow it to melt slowly; we want our eggs to glide effortlessly across the surface.
Step 2: Crack Those Eggs
Once the butter is foamy (but not browning), crack your fresh eggs gently into the pan. A little tip: crack them into a small bowl first if you’re nervous about getting shell pieces in your masterpiece!
Step 3: Season Well
Sprinkle a pinch of salt and pepper over the eggs while they start to sizzle softly. Watch as those whites begin to set around the edges while keeping those precious yolks intact.
Step 4: Control Your Heat
Keep an eye on your heat! If it’s too hot, you’ll end up with crispy edges instead of tender whites. Adjust as necessary until they look just right—slightly firm but still wobbly.
Step 5: Cover for Extra Creaminess
For perfectly cooked sunny side up eggs with luscious yolks, cover your skillet with a lid for about one minute. This creates steam and helps cook the tops without flipping them over.
Step 6: Serve with Flair
Once ready, carefully slide your sunny side up eggs onto plates. Sprinkle some fresh basil or chives on top if you’re feeling fancy! Serve alongside toast or any favorite breakfast items.
Now that you’ve mastered how to make sunny side up eggs, enjoy every delicious mouthful! Transfer them to plates and watch everyone’s faces light up at such an egg-ceptional dish!
You Must Know
- Sunny side up eggs are not just a breakfast staple; they bring joy to the table
- Their bright yellow yolks and velvety whites create a visual feast
- Whether you serve them on toast or alongside crispy bacon, they’re perfect any time of day
Perfecting the Cooking Process
Start by heating a non-stick skillet over medium heat. Add a little butter or oil, then crack in your eggs gently. Cook until the whites are set but yolks remain runny, about 2 to 3 minutes.
Add Your Touch
Sprinkle some salt and pepper for flavor, or try adding herbs like chives or parsley. If you’re feeling adventurous, top with avocado slices or a dollop of salsa for an extra kick.
Storing & Reheating
Sunny side up eggs are best enjoyed fresh. However, if you have leftovers, store them in an airtight container in the fridge for up to two days. Reheat gently in a skillet over low heat to avoid overcooking.
Chef's Helpful Tips
- For perfectly sunny side up eggs, use fresh eggs for the best texture and taste
- A lower cooking temperature helps prevent burnt edges while keeping yolks intact
- Covering the pan briefly can help set the tops without flipping
The first time I made sunny side up eggs, my dog sat at my feet with big puppy eyes, clearly hoping for a delicious drop! That morning was filled with laughter as my friends discovered how much fun it is to dip toast into those golden yolks.
FAQs :
What are Sunny Side Up Eggs?
Sunny side up eggs are a popular breakfast dish where eggs are fried on one side until the whites are set while the yolk remains runny. They are typically cooked in a skillet over low heat to achieve that perfect, bright yellow yolk. This cooking method preserves the yolk’s creamy texture and allows it to be enjoyed with toast or other breakfast items. Many people love sunny side up eggs for their simplicity and rich flavor.
How do you cook Sunny Side Up Eggs perfectly?
To cook sunny side up eggs perfectly, start by heating a nonstick skillet over low heat and adding a small amount of butter or oil. Crack the eggs gently into the skillet, ensuring not to break the yolks. Cook them slowly until the whites are opaque but the yolks remain runny. This usually takes about 2-3 minutes. Optionally, cover the skillet with a lid to help cook the tops of the whites without flipping them. The result is beautifully cooked sunny side up eggs.
What can I serve with Sunny Side Up Eggs?
Sunny side up eggs pair well with many dishes. You can serve them on top of toast for a classic breakfast or alongside crispy bacon and hash browns for a heartier meal. They also work well in breakfast burritos or atop salads for added protein. Consider garnishing with herbs like chives or parsley for an extra burst of flavor. Enjoy them with fresh fruit or a smoothie to balance your meal.
Are Sunny Side Up Eggs safe to eat?
While sunny side up eggs have a delicious taste and appealing texture, there is some concern about food safety due to undercooked egg yolks. To minimize risk, use pasteurized eggs if you’re worried about salmonella. Cooking eggs thoroughly can eliminate harmful bacteria, but many enjoy them runny as long as they’re sourced from reputable suppliers. Always ensure proper handling and storage of eggs to maintain their freshness and safety.
Conclusion for Sunny Side Up Eggs :
Sunny side up eggs make a delightful addition to any breakfast table, offering both flavor and nutrition. With their rich, runny yolks and perfectly cooked whites, they provide versatility in meals from classic toast toppings to vibrant brunch dishes. Cooking them requires minimal ingredients and effort, making them an ideal choice for busy mornings. Remember to source high-quality eggs for safety without compromising on taste. Whether enjoyed alone or paired with other favorites, sunny side up eggs will surely brighten your day!

Sunny Side Up Eggs
- Total Time: 5 minutes
- Yield: 1 serving 1x
Description
Sunny side up eggs are a delightful way to start your day, combining simplicity with rich flavor. Their vibrant yellow yolks and tender whites not only add color to your breakfast plate but also serve as a perfect base for various toppings. Whether you pair them with toast, crispy bacon, or fresh herbs, these eggs are sure to brighten any morning. Follow this easy recipe to create the ultimate sunny side up eggs that will impress family and friends alike.
Ingredients
- 2 large fresh eggs
- 1 tbsp unsalted butter or cooking oil
- 1/4 tsp salt
- 1/4 tsp black pepper
- Fresh basil or chives (optional)
Instructions
- Heat a nonstick skillet over medium-low heat and add butter or oil, allowing it to melt gently.
- Crack the eggs into a small bowl if preferred, then slide them carefully into the skillet.
- Season with salt and pepper while the eggs begin to sizzle softly.
- Cook until egg whites are set but yolks remain runny, about 2-3 minutes. Adjust heat to avoid overcooking.
- For creamier yolks, cover the skillet with a lid for one minute.
- Carefully transfer the eggs to plates and garnish with fresh herbs if desired.
- Prep Time: 2 minutes
- Cook Time: 3 minutes
- Category: Breakfast
- Method: Frying
- Cuisine: American
Nutrition
- Serving Size: 1 serving
- Calories: 200
- Sugar: 0g
- Sodium: 180mg
- Fat: 14g
- Saturated Fat: 9g
- Unsaturated Fat: 5g
- Trans Fat: 0g
- Carbohydrates: 1g
- Fiber: 0g
- Protein: 12g
- Cholesterol: 370mg


